
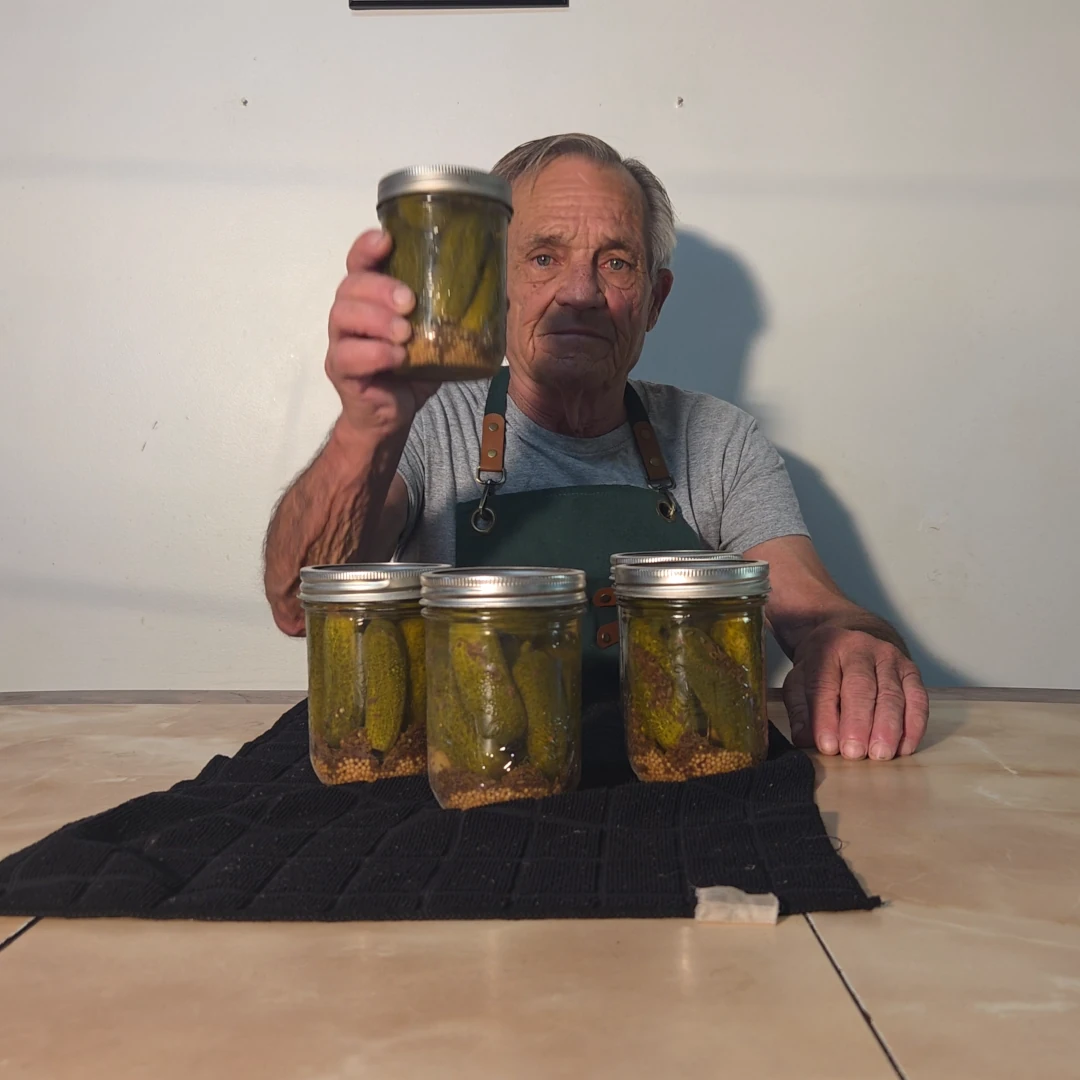
The cucumbers in my garden weren’t coming on fast enough to get enough of them for a batch of dill pickles all at once. So as they reached the right size, I picked them and put them in the crisper. After three days, I finally had enough to fill the five pint jars my canner holds.
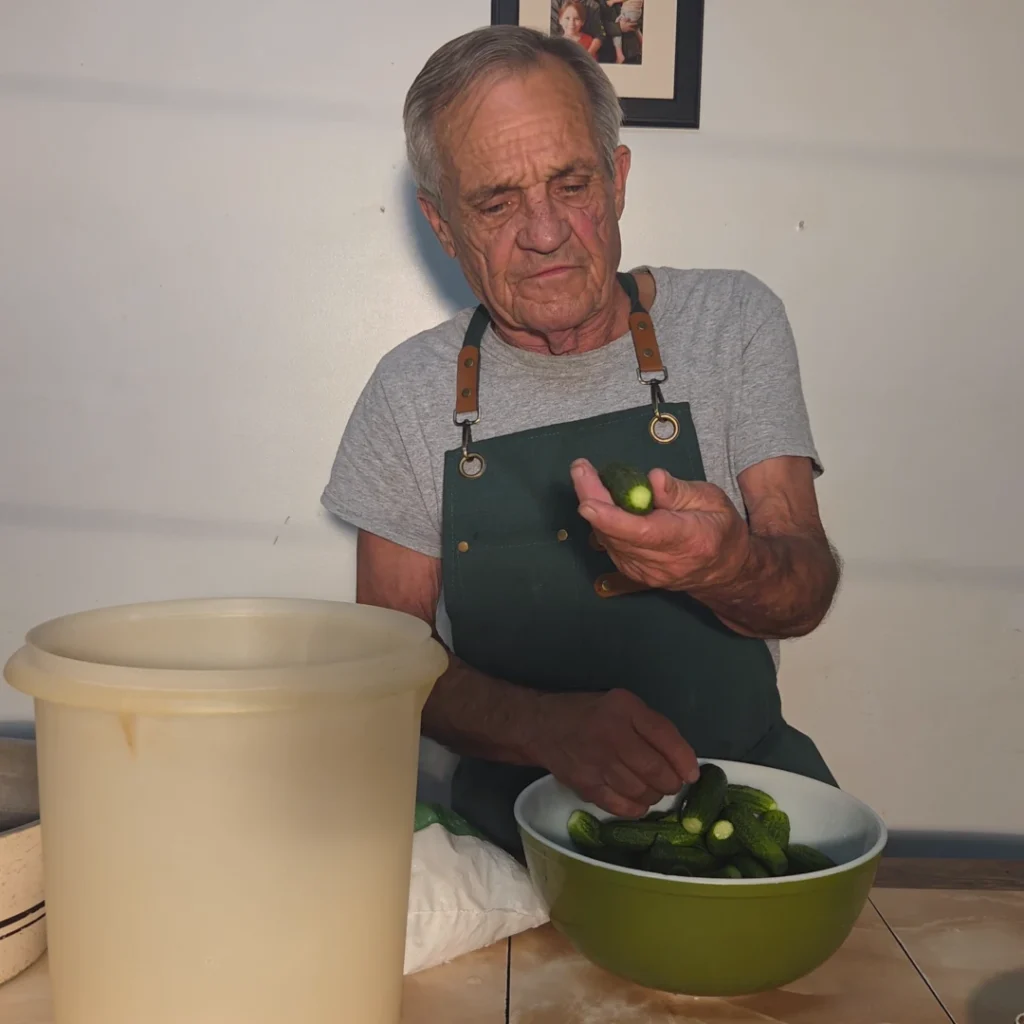
Before I got started, I cleaned the cucumbers and packed them into the jars to see how much I had. Then I took them back out and weighed them.
It turned out that I had 2½ pounds of cucumbers, which was enough to fill five pint jars. That works out to about ½ pound of cucumbers per pint, so I’ll note that in the recipe. It should give you a pretty good idea of how many cucumbers you’ll need.
I washed the jars and cucumbers again, and then cut the blossom end off the cucumbers.
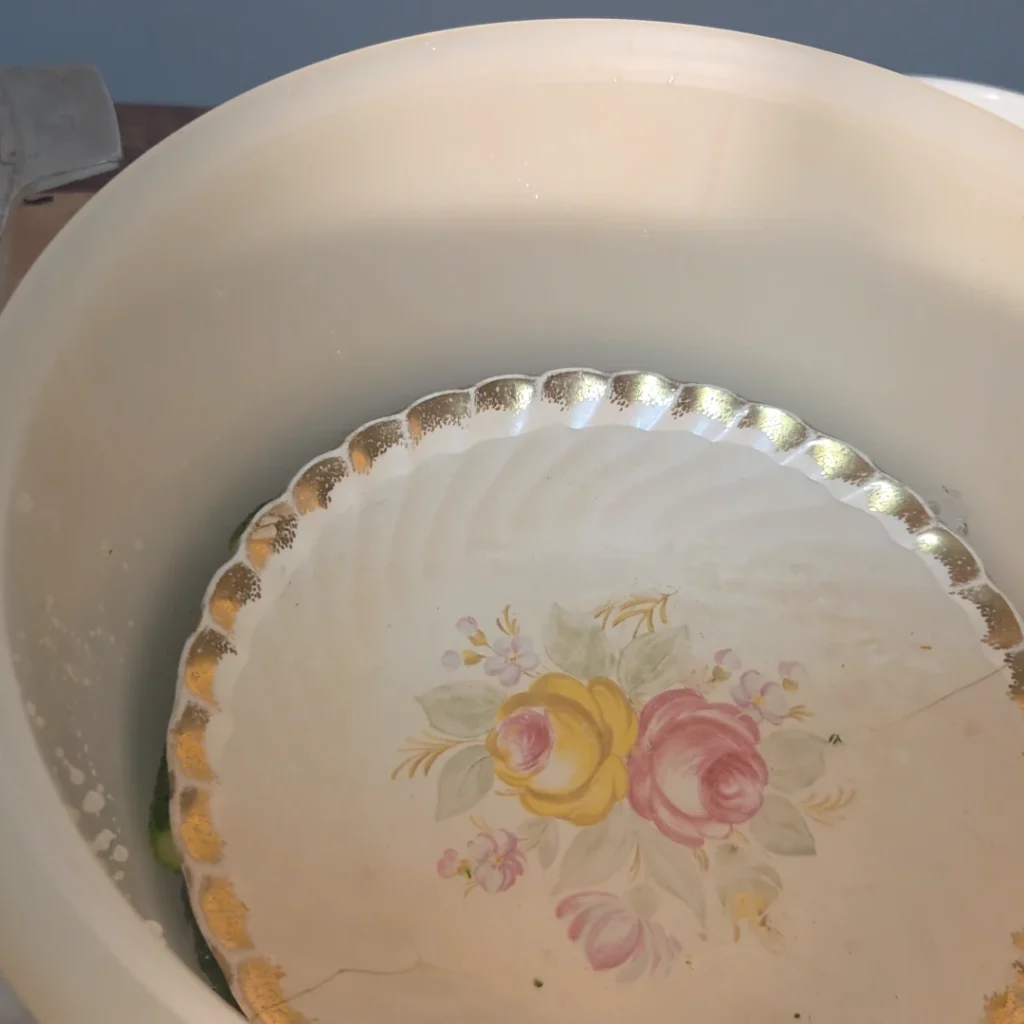
The cucumbers needed to be in a salt brine for 12 to 18 hours, so I used a 2-gallon food-grade container. I put in a layer of ice, then a layer of cucumbers, and kept alternating the two until they were all in the container.
I made the brine by mixing 8 cups of water with 1 cup of pickling salt. That still wasn’t quite enough to cover the cucumbers, but the Bernardin recipe says to add more cold water if necessary, so that’s what I did.
I have to admit, I don’t really understand the logic of measuring out a brine only to dilute it with ice and more cold water, but I followed the directions anyway.
I weighed the cucumbers down with a bowl pushed under the water to keep them submerged, covered the container, and put it in a cool place until the next day.
The next day I made the brine for the jars. I brought 4 cups of water, 3 cups of white vinegar, ¼ cup of pickling salt, 2 tablespoons of granulated sugar, and 1 tablespoon of pickling spice in a spice bag to a boil. Once it came to a boil, I let it simmer for 10 minutes.
While the brine was simmering, I put my jars and lids into hot water. Then I rinsed the salt off the cucumbers.
I put 1 garlic clove, 1 tablespoon of mustard seed, and ½ teaspoon of dill seed into the bottom of each jar. Then I packed the cucumbers into the jars as tightly as I could, leaving a generous ½ inch of headspace.
I topped the jars off with the hot brine, bringing the liquid back up to ½ inch of headspace. I removed the air bubbles and then rechecked the headspace.
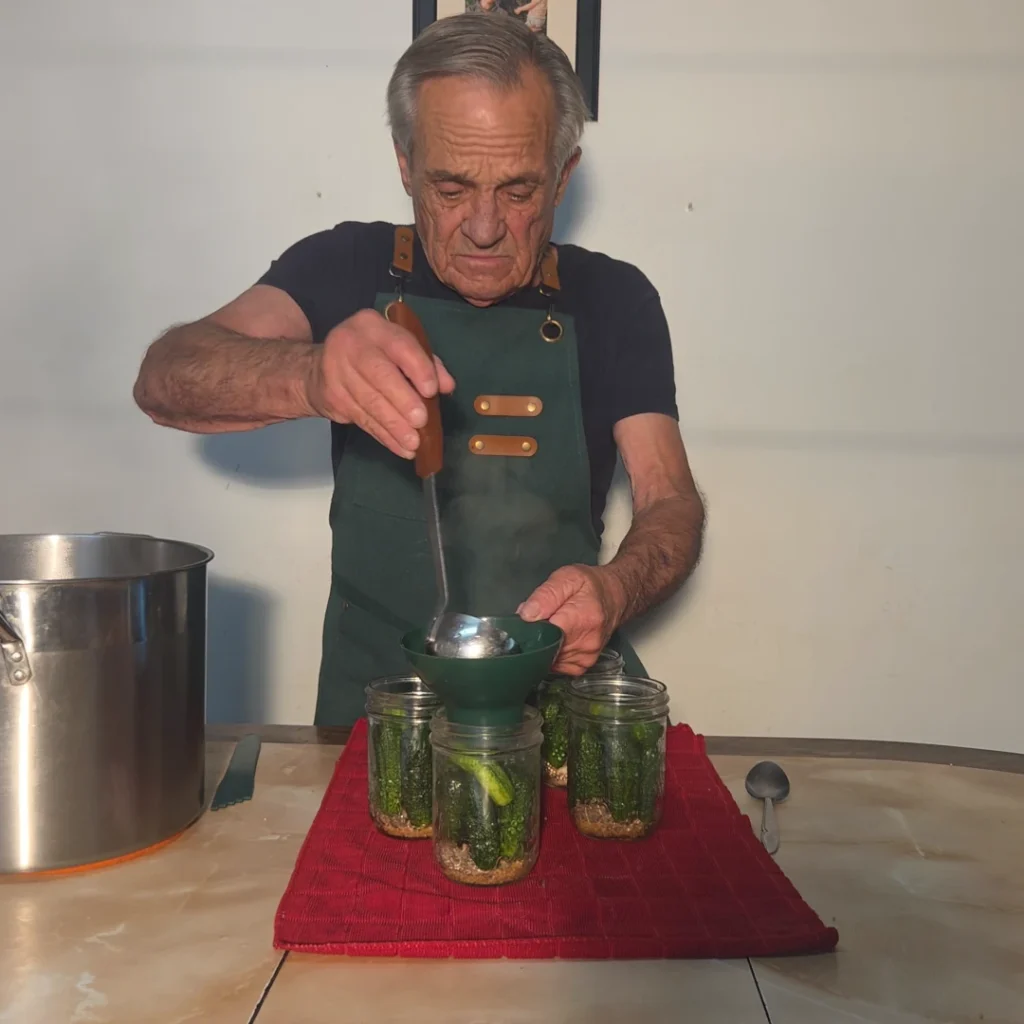
I cleaned the jar rims with a paper towel dampened with vinegar, put the lids on, and tightened the bands to finger tight.
Then I put the jars into the canner and added some vinegar to the canning water to help prevent the jars from getting cloudy.
The Bernardin recipe says to water bath can the pickles for 10 minutes, but I had to adjust the processing time for my altitude, so I canned them for 15 minutes. I’ll include the altitude adjustments in the recipe.
Once the 15 minutes of canning was up, I opened the lid and waited another 5 minutes before pulling the jars out of the canner.
By the next day, all five jars had sealed.
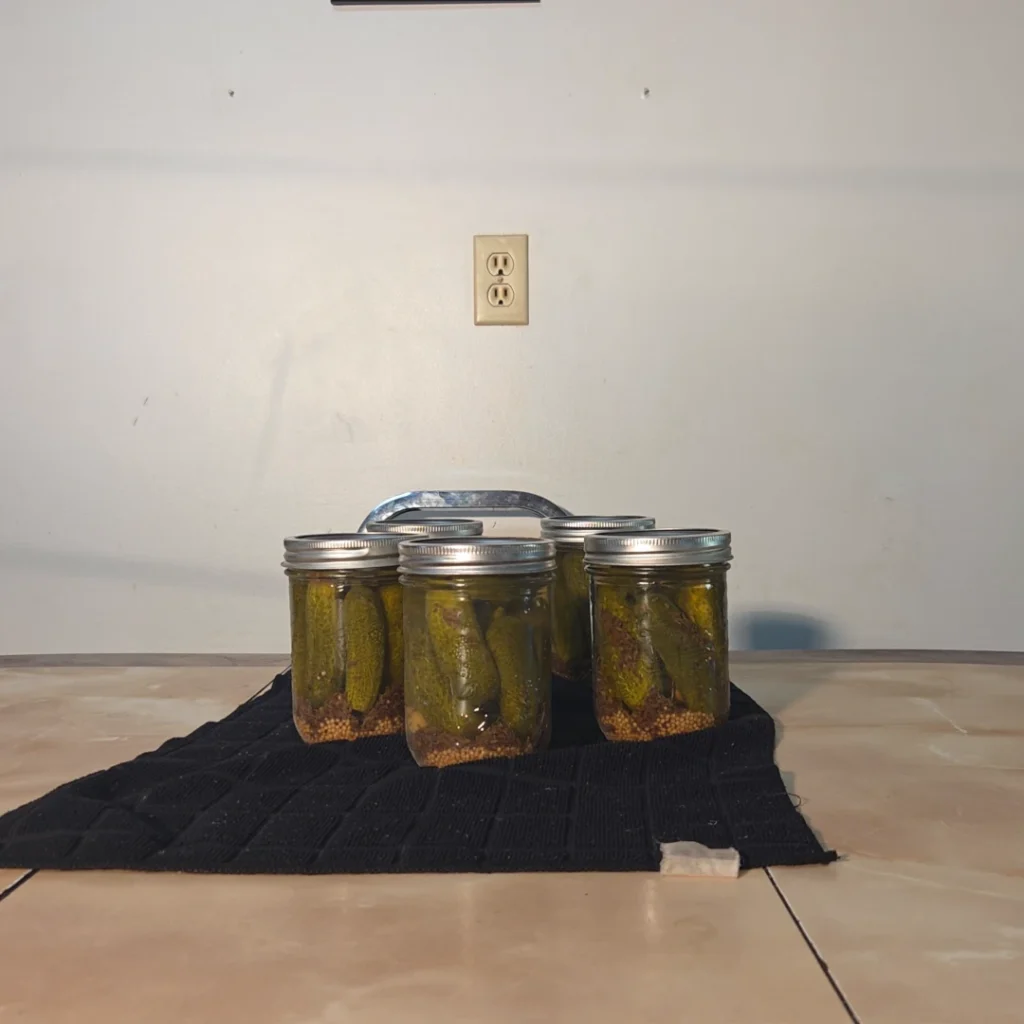
I gave them a week on the shelf to let the flavors develop before opening a jar and tasting them.
They tasted great.
Grandma’s Dill Pickles
Traditional homemade dill pickles made with fresh cucumbers, garlic, mustard seed, dill seed, and a seasoned vinegar brine.
Ingredients
For the Cucumbers
- 2½ lbs cucumbers, enough for about 5 pints
- 8 cups water
- 1 cup pickling salt
- Ice, as needed
For the Canning Brine
- 4 cups water
- 3 cups white vinegar
- ¼ cup pickling salt
- 2 tbsp granulated sugar
- 1 tbsp pickling spice, in a spice bag
For Each Pint Jar
- 1 garlic clove
- 1 tbsp mustard seed
- ½ tsp dill seed
Instructions
- Clean the cucumbers and cut off the blossom ends.
- In a 2-gallon food-grade container, alternate layers of ice and cucumbers until all the cucumbers are in the container.
- Mix 8 cups of water with 1 cup of pickling salt. Pour the brine over the cucumbers. If the cucumbers are not completely covered, add enough cold water to cover them.
- Weigh the cucumbers down with a bowl pushed under the water to keep them submerged. Cover the container and place it in a cool location for 12 to 18 hours.
- The next day, prepare the canning brine. Combine 4 cups of water, 3 cups of white vinegar, ¼ cup of pickling salt, 2 tbsp of granulated sugar, and 1 tbsp of pickling spice in a spice bag. Bring to a boil, then reduce the heat and simmer for 10 minutes.
- While the brine is simmering, place the jars and lids in hot water.
- Remove the cucumbers from the salt brine and rinse them well to remove the excess salt.
- Place 1 garlic clove, 1 tbsp of mustard seed, and ½ tsp of dill seed into each pint jar.
- Pack the cucumbers tightly into the jars, leaving a generous ½ inch of headspace.
- Pour the hot canning brine into the jars, maintaining ½ inch of headspace. Remove air bubbles and recheck the headspace, adding more brine if necessary.
- Wipe the jar rims clean with a paper towel dampened with vinegar. Place the lids on the jars and tighten the bands to finger tight.
- Place the jars in a boiling water bath canner. Add some vinegar to the canning water to help prevent the jars from becoming cloudy.
- Process the jars for 10 minutes at elevations of 1,000 feet (305 m) or less. Adjust the processing time for higher elevations according to the table below.
- When the processing time is complete, turn off the heat, remove the canner lid, and wait 5 minutes before removing the jars.
- Remove the jars from the canner and allow them to cool undisturbed. Check that the jars have sealed once they have cooled completely.
Notes
Boiling-Water Canning Altitude Adjustments:
The standard processing time for this recipe is 10 minutes at elevations of 1,000 feet (305 m) or less. If you are above 1,000 feet, increase the processing time according to the table below.
| Elevation | Add to Processing Time | Total Processing Time |
|---|---|---|
| 1,000 ft (305 m) or less | None | 10 minutes |
| 1,001–3,000 ft (306–914 m) | 5 minutes | 15 minutes |
| 3,001–6,000 ft (915–1,829 m) | 10 minutes | 20 minutes |
| 6,001–8,000 ft (1,830–2,438 m) | 15 minutes | 25 minutes |
| 8,001–10,000 ft (2,439–3,048 m) | 20 minutes | 30 minutes |
For example, since I live between 1,000 and 2,000 feet above sea level, the 10-minute processing time was increased to 15 minutes for this batch.
Yield: About 5 pints
Cucumber amount: It took 2½ lbs of cucumbers to fill 5 pint jars, or about ½ lb per pint.
Frequently Asked Questions
How many cucumbers do I need for this recipe?
It took 2½ pounds of cucumbers to fill five pint jars, or about ½ pound of cucumbers per pint.
How long do the cucumbers need to soak in the salt brine?
The cucumbers need to remain in the salt brine for 12 to 18 hours before they are packed into the jars.
Why do you use ice with the cucumbers?
The cucumbers are layered with ice while they soak in the salt brine. This is part of the Bernardin recipe I followed.
How much headspace do I leave in the jars?
Leave a generous ½ inch of headspace when packing the cucumbers and filling the jars with the hot brine.
How long do you water-bath can Grandma’s Dill Pickles?
The standard processing time is 10 minutes at elevations of 1,000 feet (305 m) or less. At elevations between 1,001 and 3,000 feet, process for 15 minutes. Adjust the processing time for higher elevations according to the altitude table in the recipe.
Why do you add vinegar to the canning water?
I add some vinegar to the water in the canner to help prevent the jars from becoming cloudy during processing.
How long should the pickles sit before eating them?
I let the jars sit for about a week before opening one to give the flavors time to develop. After a week, they tasted great.
How many pints does this recipe make?
This recipe makes about 5 pints of dill pickles.

Leave a Reply