
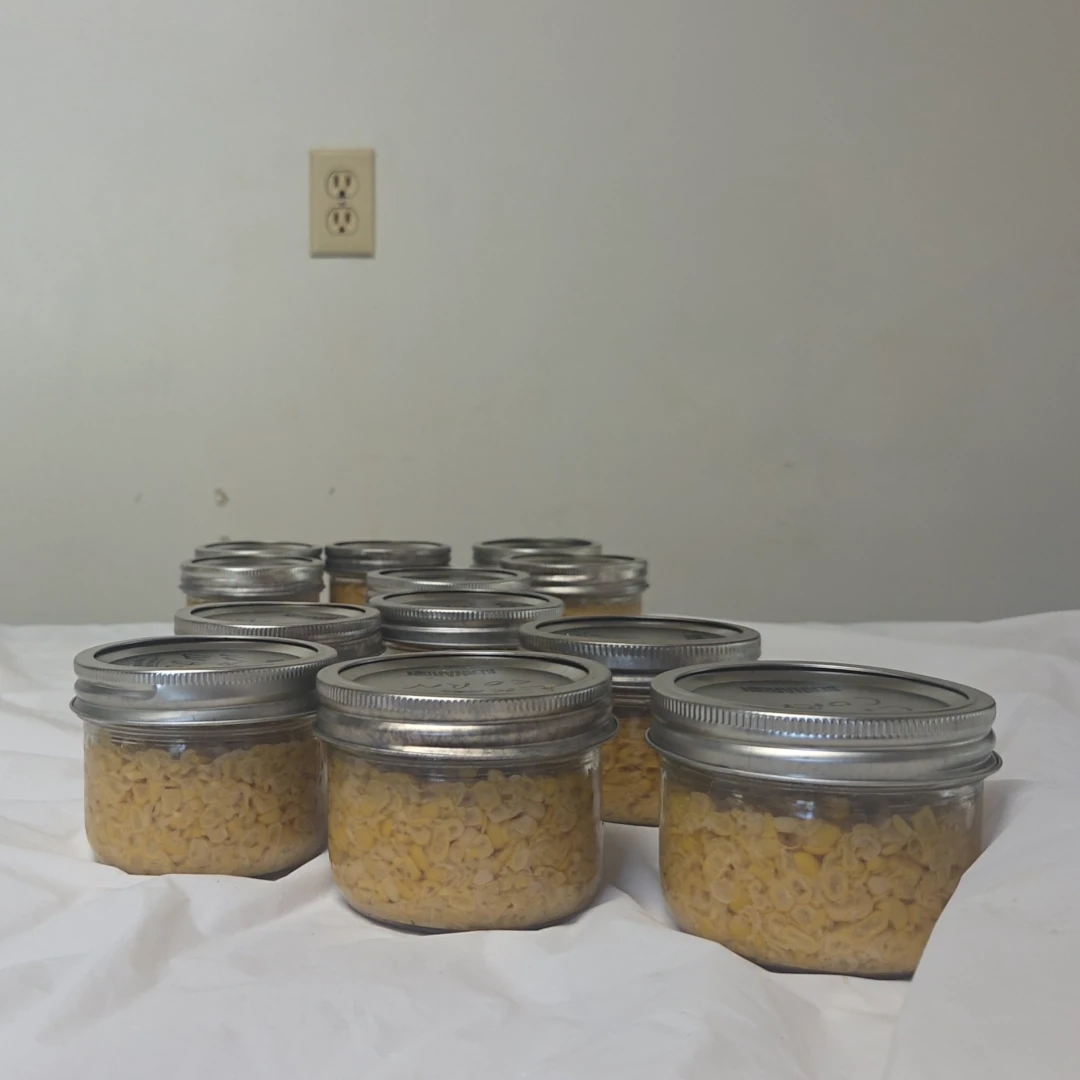
Fresh corn was on sale at the grocery store, still in the husk, so I couldn’t pass it up. My plan was to make enough creamed corn to fill my pressure canner.
I picked up 24 cobs because my Bernardin book says it takes about four medium cobs to make one pint of creamed corn. My canner holds five pints, so I figured 20 cobs would be enough to fill the canner, with four cobs left over for the barbecue. Sounded like a good plan.
I put the corn in the fridge overnight and got started the next morning.
The first job was husking all the corn and giving it a good wash. I like to do that over a strainer in the sink so all those little corn silks don’t end up plugging the drain. It saves a lot of cleanup later.
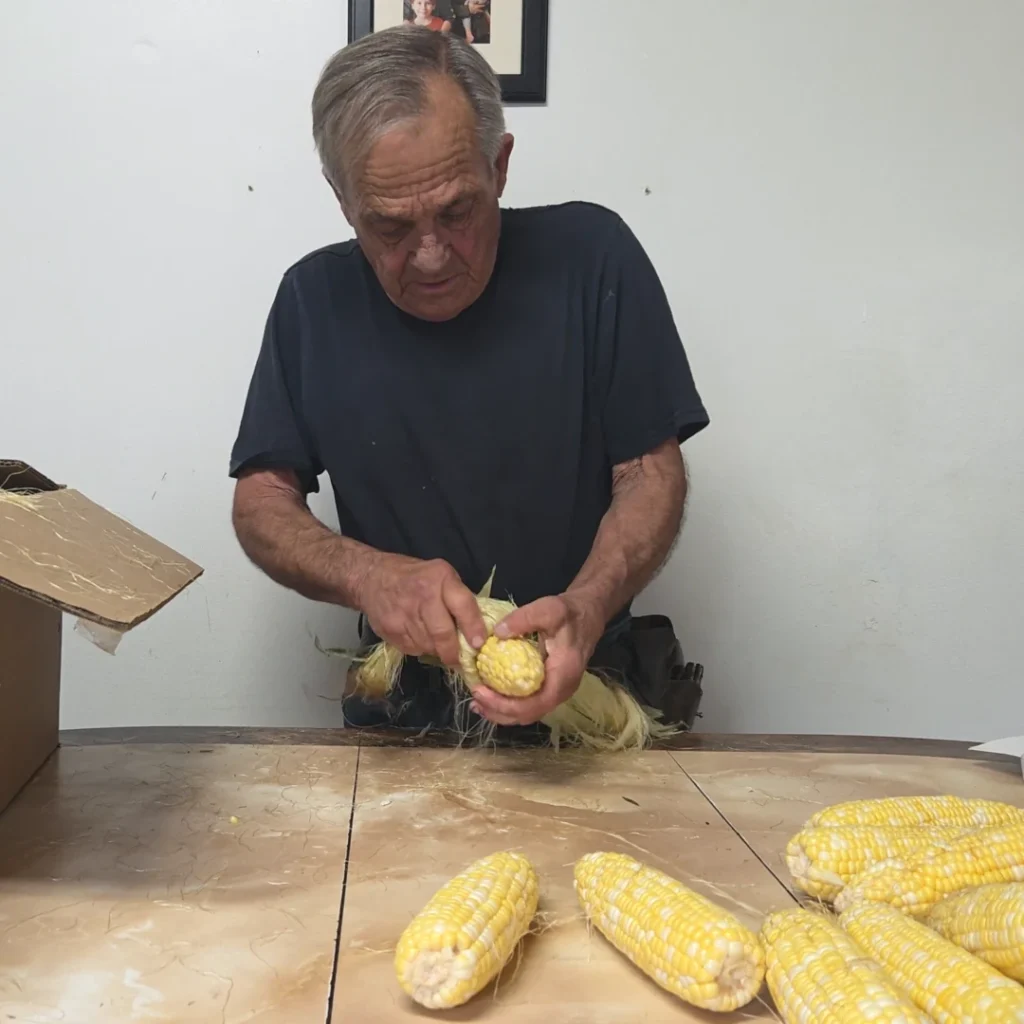
Once everything was cleaned up, I blanched the cobs for four minutes, drained them, and let them cool just enough so I could handle them without burning my hands.
To remove the kernels, I set a smaller bowl upside down inside one of my large stainless mixing bowls. That gives the cob something to sit on while the kernels and all that sweet corn milk fall into the larger bowl instead of all over the counter.
I started by using a serrated knife to cut about halfway through the kernels. Then I scraped the rest of the kernels and the corn milk off the cob with a bread knife. That worked, but after a couple of cobs I switched to a vegetable peeler for the scraping part. It worked much better and made the job a lot easier. Sometimes you find a better way part way through.

When I finished all the cobs, I measured the corn and ended up with 15 cups.
The recipe calls for one cup of water for every two cups of corn, so I needed 6½ cups of water.
Since I have well water, I just used water from the tap. If your water is chlorinated, I’d recommend using bottled water or letting tap water sit out overnight so the chlorine can dissipate before using it.
Here’s where I got a surprise.
Once I added the water to the corn, I had about 21½ cups altogether. That’s enough for over ten pints, not the five pints I was expecting based on the book.
I brought the mixture to a boil, then reduced it to a gentle boil and let it simmer for three minutes.

While that was happening, I kept ten half-pint jars hot in water so they were ready to fill.
After the three minutes, I filled each hot jar, leaving one inch of headspace. I removed the air bubbles, checked the headspace again, and adjusted it if needed.
I wiped the rims with a paper towel dampened with vinegar and also gave each new lid a quick wipe before placing it on the jar. Then I put the bands on finger tight and loaded the jars into the pressure canner.
With the vent open, I heated the canner until I had a steady stream of steam coming out, then exhausted the canner for 10 minutes. After that I closed the vent, brought the canner up to pressure, and processed the jars for 85 minutes, which is the processing time for pints.

One important thing to remember is that creamed corn should only be pressure canned in pint jars or smaller. Larger jars aren’t considered safe for this product.
When the processing time was finished, I turned off the heat and let the canner cool down and depressurize completely on its own. Once the pressure was back to zero, I opened the lid, waited another 10 minutes, and then removed the jars to a towel on the counter to cool and seal.
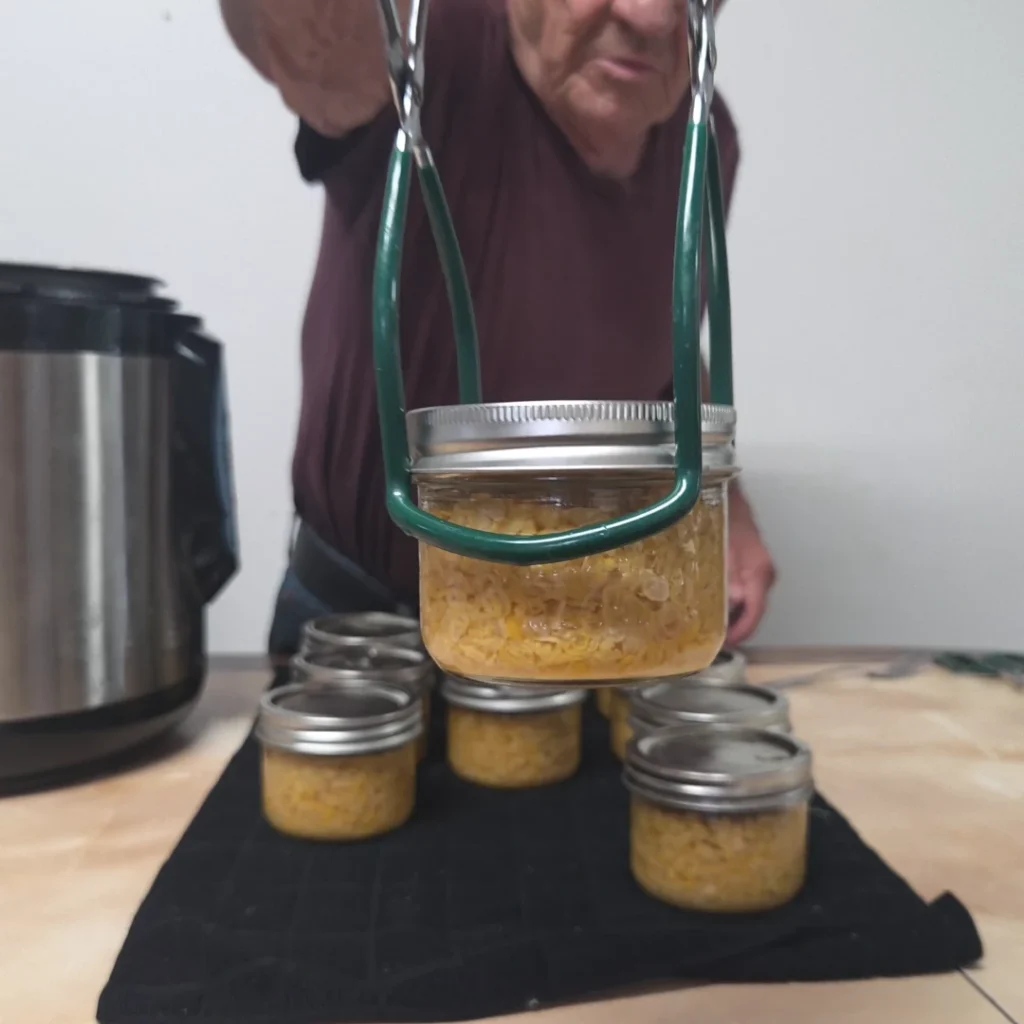
Since my canner only held part of the batch, I put the remaining creamed corn in the refrigerator overnight. The next morning I brought it back to a boil, simmered it for another three minutes, and repeated the same canning process for the rest.
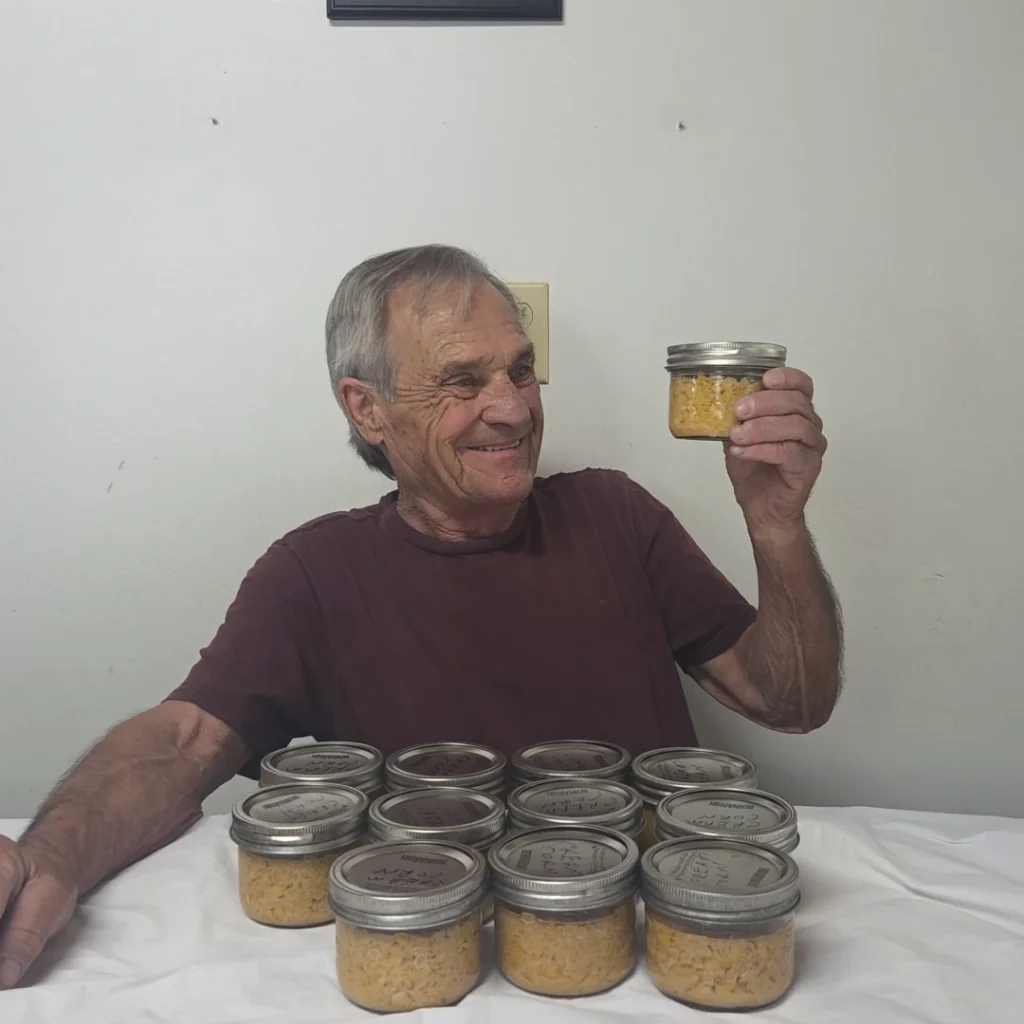
The biggest surprise from this batch was the yield. According to the book, I expected 20 cobs to make about five pints, which was exactly enough to fill my canner. Instead, those same 20 cobs gave me around ten pints. That’s roughly two medium cobs for every pint instead of four.
Every batch of corn is a little different, but it was a nice surprise to get twice as much as I expected. Having homemade creamed corn sitting on the pantry shelf makes all that work worth it, especially once fresh corn season is over.
Pressure Canning Cream Style Corn At Home
Yield: About 5 pints (10 half-pints)
Prep Time: About 1 hour
Processing Time: 85 minutes
Method: Pressure Canning
Ingredients
- Fresh corn (measure after scraping kernels and collecting corn milk from the cobs)
- Water (add 1 cup water for every 2 cups of prepared corn)
Instructions
Husk the corn and wash it well, removing as much silk as possible.
Blanch the ears of corn in boiling water for 4 minutes. Drain and let them cool just enough to handle.
Using a serrated knife, cut about halfway through the kernels. Then scrape down the cob to remove the remaining kernels and all the corn milk. A vegetable peeler can be used for the second pass and makes the job easier.
Measure the prepared corn after scraping. This is what determines your final batch size.
Add water using the ratio of 1 cup water for every 2 cups of prepared corn. Stir well to combine.
Bring the mixture to a boil, then reduce to a gentle boil and simmer for 3 minutes.
While the corn is heating, keep clean half-pint or pint jars hot in water.
Ladle the hot corn mixture into hot jars, leaving 1 inch of headspace.
Remove air bubbles and recheck headspace, adjusting if needed.
Wipe jar rims with a paper towel dampened in vinegar. Apply lids and screw bands on fingertip tight.
Place jars into the pressure canner.
With the vent open, bring the canner to a steady stream of steam and vent for 10 minutes.
Close the vent, bring the canner up to pressure for your altitude and canner type, and process for 85 minutes.
When processing is complete, turn off the heat and allow the canner to depressurize naturally.
Once pressure returns to zero, wait 10 minutes, then remove jars and place them on a towel to cool undisturbed for 12–24 hours.
Check seals, remove bands, label, and store in a cool dark place.
Notes
- Yield depends on how much corn is obtained after scraping.
- Water is always added at a ratio of 1 cup per 2 cups of prepared corn.
- Maintain 1 inch headspace for safe sealing.
- Cream-style corn must be pressure canned (no water bath method).
- Always adjust pressure for your altitude and canner type.
Frequently Asked Questions
Can I use quart jars for cream-style corn?
No, cream-style corn should only be pressure canned in half-pint or pint jars. Quart jars are not considered safe because the product is too dense for proper heat penetration.
Do I measure the corn before or after scraping?
Always measure after scraping the kernels and collecting the corn milk from the cobs. That final amount determines your water ratio and batch size.
What is the water ratio for cream-style corn?
Use 1 cup of water for every 2 cups of prepared corn. Stir well so the mixture is evenly combined before heating.
Do I need to blanch the corn first?
Yes, blanching for about 4 minutes helps with flavor and texture, and it also makes it easier to remove both the kernels and the corn milk from the cob.
How long do I process cream-style corn in a pressure canner?Process for 85 minutes once the canner reaches the correct pressure. Always follow the timing for pints or half-pints only.
Why do I vent the pressure canner for 10 minutes?
Venting removes trapped air from the canner, which helps ensure the temperature reaches proper steam conditions for safe pressure canning.
Can I skip the corn milk when scraping the cobs?
No, the corn milk is important for the texture and final consistency of cream-style corn, so it should be included.

Leave a Reply